How to Wrap Your Mother's Day Flowers
How to Wrap Your Mother’s Day Bouquet
As the big day inches closer and closer, you’re probably wondering what flowers for Mother’s Day that special lady in your life would want. A gorgeous bouquet from Moonpig is a great place to start for an amazing Mother’s Day.
There’s nothing more heartfelt than showing up to Mum’s house with a bouquet overflowing with her favourite flowers!
Our bouquets come hand-tied, unless they’re from our letterbox range, of course, and bundled in our signature nourishing wrap, packed full of nutrients to keep your flowers happy and healthy as they travel to you. And don’t worry, once you trim the stems and put them in water, they’ll spring to life!
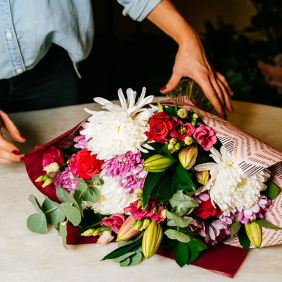
Of course, you could present those gorgeous blooms to Mum as is, but if you’re looking for that extra edge to make your Mother’s Day gift stand out, we’ve got an easy little hack to put that extra special touch on Mum’s bouquet. The best flowers for Mother’s Day always come in the best, most personal and unique wrapping.
All it takes is two types of wrapping paper, scissors, tape and a piece of ribbon.
How to wrap your Mother’s Day flowers:
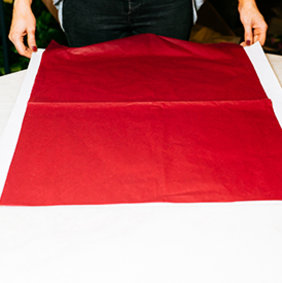
Step 1: Select two sheets of wrapping to give texture. Approximately 80x50cm. Ideally, a paper sheet and a tissue/thin sheet so the wrapping is still flexible around the bouquet.
Step 2: Place the tissue sheet on top of the paper sheet with the short side in front of you.
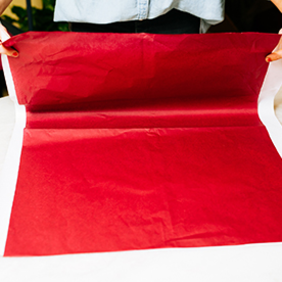
Step 3: Starting from the bottom closest to you, take both sheets together, fold them in half towards the top but turn the paper so it creates four peaks. Crease the bottom of the fold.
Arrange your flowers
Step 1-4
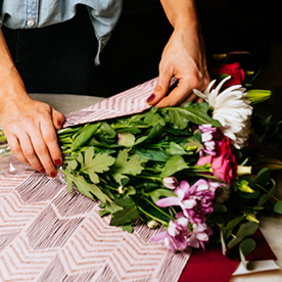
Step 4: Take your flowers, ensuring they’re secured with twine or elastic and place them in the centre of the paper, lining up the twine or elastic that ties your flowers with the bottom of the paper. If you wish to cover the stems with cellophane you can do so at this stage.
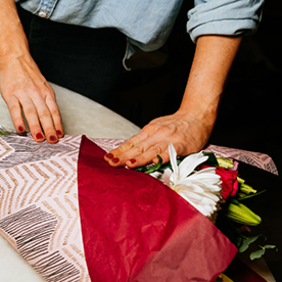
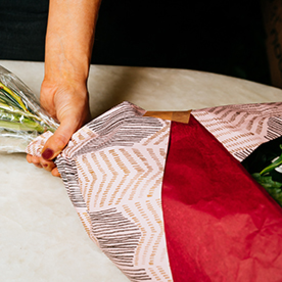
Step 5: Gather the paper from each side and bring to the front, securing with tape or a sticker.
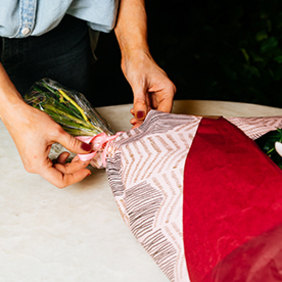
Step 6: The paper will be loose at the bottom so gather this up with your hands, and add ribbon, twine or tape to secure.
Arrange your Flowers
Step 4-10

Moonpig


