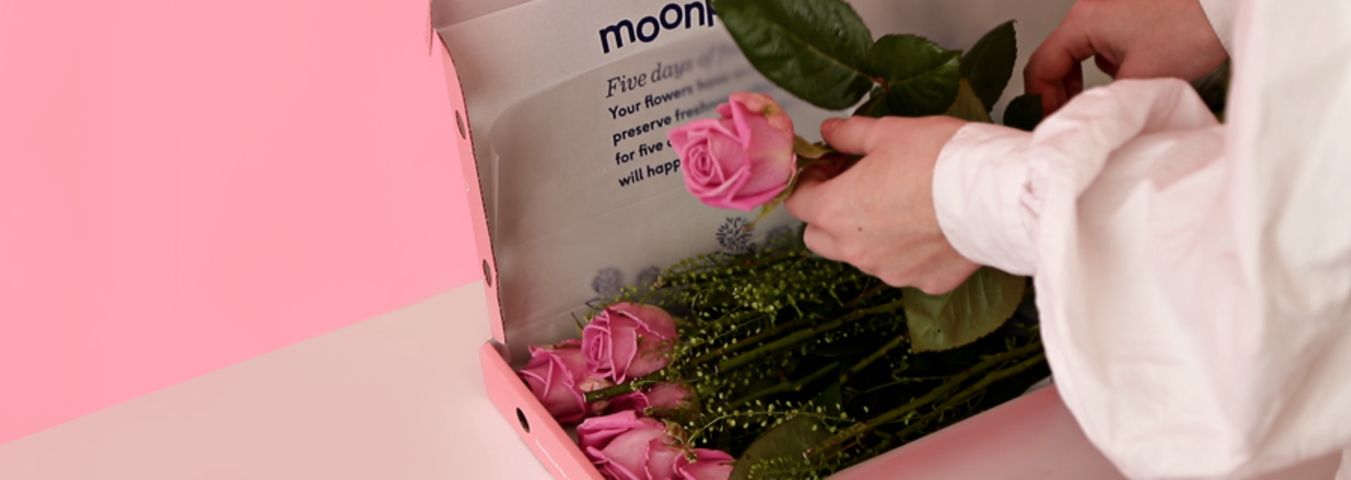
Making the Most of Your Letterbox Flowers
Making the Most of Your Letterbox Flowers
The best things come in small packages, and with Moonpig’s Letterbox flowers that couldn’t be more true. Whatever their style, there’s a perfectly packaged bouquet for everyone you love and best of all you don’t need to worry about the lucky person being home as our flowers fit right through (you guessed it) their letterbox!
So, we’ve put together a tutorial on how to spruce up your letterbox flowers once they hit the doorstep. Just 6 easy steps to make them bloom and keep your fresh flower bouquet looking beautiful, stunning, gorgeous, vibrant, and above all, poppin’.
Step 1
Knock knock, who’s there? You’ll never guess...it’s the Letterbox flowers! Bet you never expected that. The first step to getting your bouquet from box to vase is to pick up the box. Make sure you bend from the knee.
Step 2
Next on the to-do list is to grab your favourite vase and fill it with water. Once it’s full, add our sachet of special flower food and stir it up. Adding the food after the water will stop it from going all frothy like a badly poured pint. No one wants that.
Step 3
The third step is to carefully remove each flower stem from the box. You’ll notice our flowers arrive to you ‘in bud’ which means after a day or two they’ll fully open up and you can enjoy your flowers for longer.
Step 4
For step 4 you’ll need to grab your scissors, remove any leaves that will sit below the waterline and cut your stems about 2cm from the base at a 45 degree angle. This will allow your flowers to drink up as much water as possible.
Step 5
Now it’s time to start arranging your flowers. To make sure your bouquet looks beautifully full, place the flowers in a criss cross pattern in the vase. Start with the hero stems (like roses) and then fill in the gaps with foliage.
Step 6
We’ve left the easiest one til last. Step 6 is to step back and admire your beautiful blooms! Flowers, we love you.


Flower Expert

